使用colorPicker实现背景跟随主题颜色转换
本示例介绍使用image库以及effectKit库中的colorPicker对目标图片进行取色,将获取的颜色作为背景渐变色,通过swiper组件对图片进行轮播,
运行环境
开发板:DAYU200
系统版本:OpenHarmony4.1Release
IDE:
DevEco Studio 4.1 Release Build Version: 4.1.0.400, built on April 9, 2024
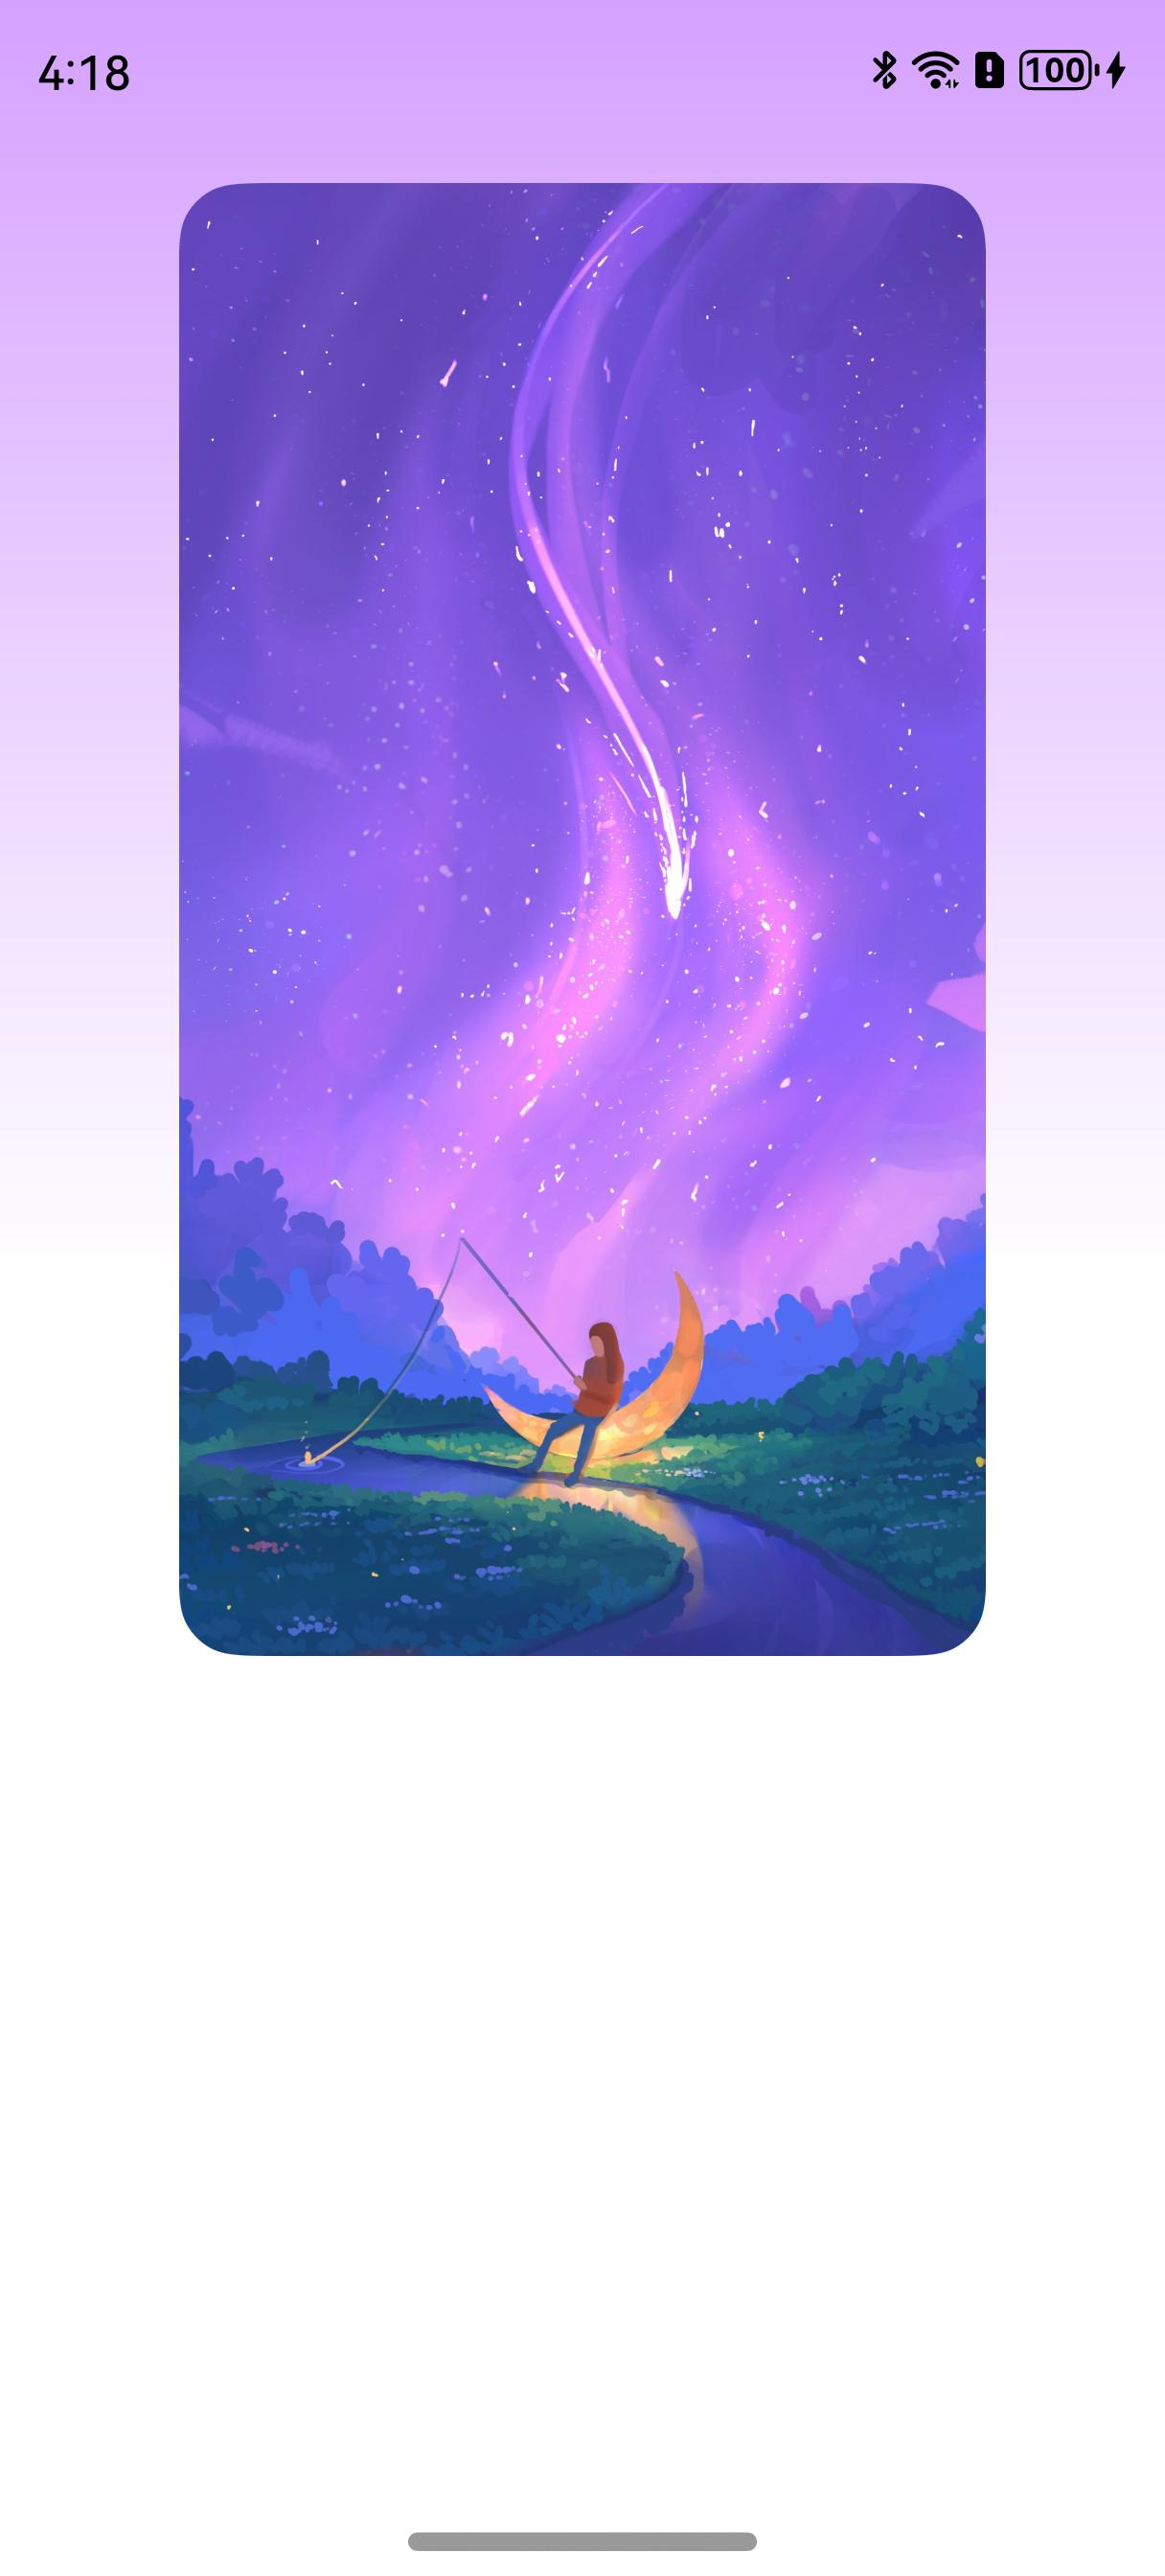
效果预览
完整源码
import image from '@ohos.multimedia.image';
import effectKit from '@ohos.effectKit';
import resourceManager from '@ohos.resourceManager';
import window from '@ohos.window';
/**
 * 实现步骤:
 * 1. 通过使用滑动视图容器Swiper,将控制器SwiperController绑定Swiper组件,实现其子组件Image图片滑动轮播显示效果。
 * 2. 在事件onAnimationStart切换动画过程中通过Image模块相关能力,获取图片颜色平均值,使用effectKit包中的ColorPicker智能取色器进行颜色取值。
 * 3. 同时通过接口animateTo开启背景颜色渲染的属性动画。全局界面开启沉浸式状态栏。
 */
@Entry
@Component
export struct BackGroundPage {
  // 图片资源获取
  @State imgData: Resource[] = [
    $r('app.media.15'),
    $r('app.media.16'),
    $r('app.media.17'),
    $r('app.media.18'),
    $r('app.media.19')
  ];
  // 初始背景色赋值
  @State bgColor: string = "#fffffff";
  // 顶部安全高度赋值
  @State topSafeHeight: number = 0;
  // 创建swiperController
  private swiperController: SwiperController = new SwiperController();
  // swiper自动播放时间间隔
  private swiperInterval: number = 3500;
  // swiper子组件切换动画时长
  private swiperDuration: number = 500;
  // swiper子组件与子组件间隙
  private swiperItemSpace: number = 10;

  async aboutToAppear() {
    // 顶部安全高度适配
    let windowHight: window.Window = await window.getLastWindow(getContext(this));
    await windowHight.setWindowLayoutFullScreen(true);
    this.topSafeHeight = px2vp(windowHight.getWindowAvoidArea(window.AvoidAreaType.TYPE_SYSTEM).topRect.height)
    // TODO 知识点:初始化页面获取第一张图片的颜色
    const context = getContext(this);
    const resourceMgr: resourceManager.ResourceManager = context.resourceManager;
    const fileData: Uint8Array = await resourceMgr.getMediaContent(this.imgData[0]);
    const buffer = fileData.buffer as ArrayBuffer;
    const imageSource: image.ImageSource = image.createImageSource(buffer);
    const pixelMap: image.PixelMap = await imageSource.createPixelMap();

    // TODO 知识点:智能取色器接口使用,初始化背景色
    effectKit.createColorPicker(pixelMap, (err, colorPicker) => {
      let color = colorPicker.getMainColorSync();
      // 将取色器选取的color示例转换为十六进制颜色代码
      this.bgColor =
        "#" + color.alpha.toString(16) + color.red.toString(16) + color.green.toString(16) + color.blue.toString(16)
    })
  }

  async aboutToDisappear() {
    let windowHight: window.Window = await window.getLastWindow(getContext(this));
    await windowHight.setWindowLayoutFullScreen(false);
  }

  build() {
    Column() {
      Swiper(this.swiperController) {
        ForEach(this.imgData, (item: Resource) => {
          Image(item).borderRadius(20)
            .height("60%")

            .margin({ top: 20 })
        })
      }
      .width("80%")
      .padding({
        left: 20,
        right: 20
      })
      .autoPlay(true)
      .interval(this.swiperInterval)
      .duration(this.swiperDuration)
      .loop(true)
      .itemSpace(this.swiperItemSpace)
      .indicator(false)
      // TODO 知识点:切换动画过程中获取图片平均颜色
      .onAnimationStart(async (index, targetIndex) => {
        try {
          const context = getContext(this);
          // 获取resourceManager资源管理器
          const resourceMgr: resourceManager.ResourceManager = context.resourceManager;
          const fileData: Uint8Array = await resourceMgr.getMediaContent(this.imgData[targetIndex]);
          // 获取图片的ArrayBuffer
          const buffer = fileData.buffer as ArrayBuffer;
          // 创建imageSource
          const imageSource: image.ImageSource = image.createImageSource(buffer);
          // 创建pixeMap
          const pixelMap: image.PixelMap = await imageSource.createPixelMap();

          effectKit.createColorPicker(pixelMap, (err, colorPicker) => {
            // 读取图像主色的颜色值,结果写入Color
            let color = colorPicker.getMainColorSync();
            // 开启背景颜色渲染的属性动画
            animateTo({ duration: 500, curve: Curve.Linear, iterations: 1 }, () => {
              // 将取色器选取的color示例转换为十六进制颜色代码
              this.bgColor = "#" + color.alpha.toString(16) + color.red.toString(16) + color.green.toString(16) +
              color.blue.toString(16);
            })
          })

        } catch (e) {
        }
      })
    }
    .width("100%")
    .height("100%")
    .linearGradient({
      // 渐变方向
      direction: GradientDirection.Bottom,
      // 数组末尾元素占比小于1时,满足重复着色的效果
      colors: [[this.bgColor, 0.0], [Color.White, 0.5]]
    })
    .padding({ top: this.topSafeHeight })
  }
}
实现思路
1.在事件onAnimationStart切换动画过程中通过Image模块相关能力,获取图片颜色平均值,使用effectKit库中的ColorPicker智能取色器进行颜色取值。
const context = getContext(this);
//获取resourceManager资源管理器
const resourceMgr: resourceManager.ResourceManager = context.resourceManager;
const fileData: Uint8Array = await resourceMgr.getMediaContent(this.imgData[targetIndex]);
//获取图片的ArrayBuffer
const buffer = fileData.buffer;
//创建imageSource
const imageSource: image.ImageSource = image.createImageSource(buffer);
//创建pixelMap
const pixelMap: image.PixelMap = await imageSource.createPixelMap();

effectKit.createColorPicker(pixelMap, (err, colorPicker) => {
  //读取图像主色的颜色值,结果写入Color
  let color = colorPicker.getMainColorSync();
})
2.同时通过接口animateTo开启背景颜色渲染的属性动画。全局界面开启沉浸式状态栏。
animateTo({ duration: 500, curve: Curve.Linear, iterations: 1 }, () => {
  //将取色器选取的color示例转换为十六进制颜色代码
  this.bgColor = "#" + color.alpha.toString(16) + color.red.toString(16) + color.green.toString(16) + color.blue.toString(16);
})
3.通过属性linearGradient设置背景色渲染方向以及渲染氛围。
linearGradient({
  //渐变方向
  direction: GradientDirection.Bottom,
  //数组末尾元素占比小于1时,满足重复着色的效果
  colors: [[this.bgColor, 0.0], [Color.White, 0.5]]
})